Log Insight: Change node IP address

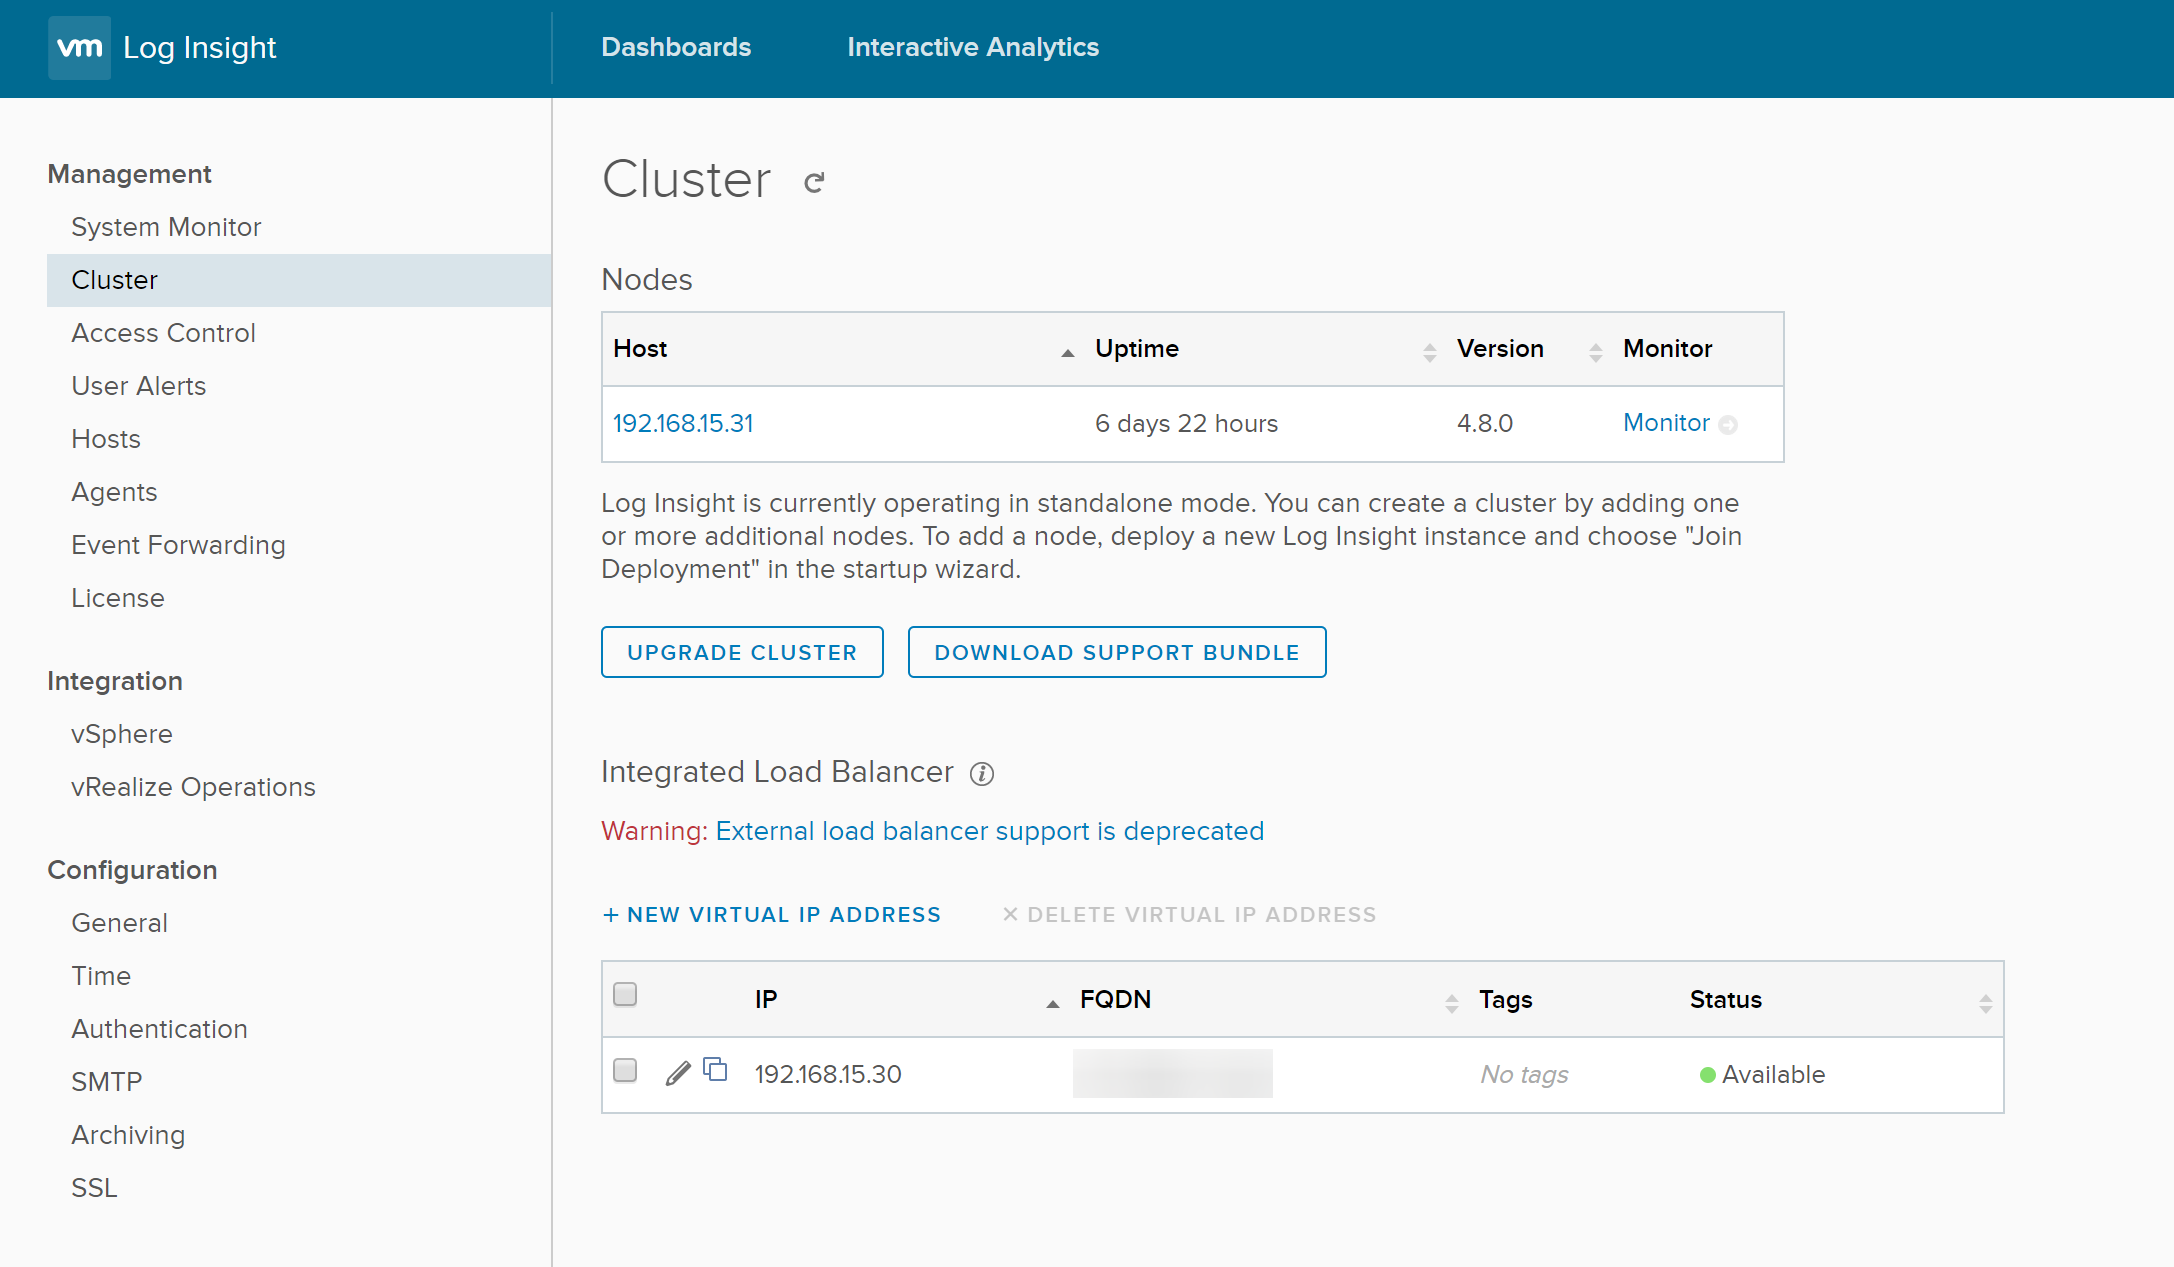
How to change the IP address of a VMware vRealize Log Insight node? Glad you asked! I’ve done this change a few weeks earlier to be able to take use of the recommended "Integrated Load Balancer" (in short ILB) while re-using the existing node IP address for the Virtual IP address, mainly for backwards-compatibility reasons like already deployed agents.
Any advantages of using the ILB? To sum it up:
- It makes it a lot easier to scale as you can add more nodes at a later time, when required.
- By default Log Insight sends mail notifications with shortcut links using the node IP address. When using the ILB it uses the FQDN instead, what is way more sexier, specially when the SSL certificate is only issued to the FQDN and not to the single IP address.
- VMwares best-practise is using an ILB, even in single-node setups. See the documentation here.
- It might sound cooler when you can say you have a Log Insight cluster. But don’t mention that it’s just containing one node.
Getting Started
IMPORTANT: BEFORE you proceed, please notice that this is NOT officially supported by VMware in any way! Do that at your own risk. Make sure you have a backup. If unsure, reach out to the support first.
Also important to note: I have NOT tested this on a Log Insight setup with a active cluster out of multiple nodes.
While assuming you carefully read above warnings, you can proceed further. One more bad news: As there is no way changing the IP address using the WebUI, this has to be done through the CLI (so SSH or the local VM console).
- You have backups, right? You have, yes? Good man!
- Make sure you get appropriate access to your Log Insight node via SSH to the root user. Local VM console is also fine, but you can’t copy & paste then.
- Before changing some files in the first place, we make sure the Log Insight core service is stopped so we can do things with the configuration files in just a minute:
/etc/init.d/loginsight stop
- Now we define the old and new node IP address as variables, for your convenience later on:
IP_OLD="192.168.15.30"
IP_NEW="192.168.15.31"
- Just in case we make some more file backups: (You never can have too much backups)
cd ~ && tar cfz /storage/core/loginsight/config.tar.gz /storage/core/loginsight/config/
cp /etc/sysconfig/network/ifcfg-eth0 /root/etc_sysconfig_network_ifcfg-eth0
cp /etc/sysconfig/networking/devices/ifcfg-eth0 /root/etc_sysconfig_networking_devices_ifcfg-eth0
- Finally we can apply the changes then. Simply execute following commands (copy & paste via SSH, or old-school typing in the local VM console):
sed -e "s/$IP_OLD/$IP_NEW/g" -i /storage/core/loginsight/config/loginsight-config.xml#*
sed -e "s/$IP_OLD/$IP_NEW/g" -i /etc/sysconfig/network/ifcfg-eth0
sed -e "s/$IP_OLD/$IP_NEW/g" -i /etc/sysconfig/networking/devices/ifcfg-eth0
- To test and apply the changes, we do a reboot now. That’s the point where you should keep your fingers crossed:
reboot
If everything went after plan, your Log Insight instance should be back up under the new IP address. If not, you might want to troubleshoot your installation, contact the support, restore backups or request vacation immediately.

